Bali: Uluwatu Silver Jewelry Making Workshop with Creation
Overview
Uluwatu's silversmithing workshops operate in a very different environment from the Canggu and Kuta studios. The Bukit Peninsula's landscape — limestone cliffs, surf beaches, sparse traffic, open-sky restaurants — gives the area a spacious quality, and the jewelry workshops reflect that: typically located in low-rise buildings or compound spaces in Bingin and the surrounding villages, surrounded by jungle and quiet lanes rather than Canggu's dense café strip.
This 2-hour workshop in Uluwatu uses 925 sterling silver as the working material, with up to 7 grams available for your piece depending on design complexity. You'll go through the standard silversmithing sequence under the supervision of a skilled local artisan: design consultation, material measurement and selection, cutting the silver to shape using a jeweler's saw, filing and forming with hand tools, joining any separate components, and finishing with sanding and polishing wheels. The instructor demonstrates each step before passing it to you, and corrects technique in real time rather than letting you discover errors at the end.
The Uluwatu Silver Class studio (one of the primary operators running this format) specializes in accessible beginner instruction. Their introductory material covers pure silver versus sterling alloys, explains why 925 is the standard working purity, and ensures you understand what you're making before you start cutting. This kind of contextual teaching is part of what earns the high ratings — you leave understanding something about Balinese silver craft rather than just having a souvenir.
With a 4.9-star rating from 260 reviews, the feedback consistently highlights two elements: the patience of the instructors, and how genuinely wearable the finished pieces are. Rings are the most popular choice for beginners because the closed-band format is achievable in 2 hours and immediately wearable. Pendants with simple geometric or organic forms are the next most common. Bring a rough idea of what you'd like — the instructors can advise on whether your design is realistic within the time window before you commit to it.
Highlights
What's Included
- Materials
- Tools
- Instruction
- Finished jewelry
What to Bring
- Comfortable clothing you don't mind getting slightly soiled with metal dust
- Apron or old shirt (workshop may provide, but bring backup if concerned)
- Camera or smartphone for documenting your creation process
- Small notebook if you want to sketch design ideas beforehand
- Reading glasses if you have vision concerns for detailed work
Tips
Arrive with rough design ideas or inspirations—bring Pinterest screenshots or sketches to discuss with your artisan instructor before starting
Choose silver jewelry styles you'll actually wear; popular beginner pieces include simple rings, geometric pendants, and adjustable bracelets that are easier to complete in 2 hours
Ask your instructor about the silver purity (typically 925 sterling silver) and care instructions for your finished piece to ensure longevity
If you're left-handed, mention this immediately as tool positioning and workspace setup differ significantly
Book early morning sessions (if available) when workshops are less crowded and you'll receive more personalized attention from artisans
What to Expect
Workshop Introduction & Design Consultation
Arrive at the workshop and meet your skilled artisan instructor. View examples of previous student creations and browse design inspiration. Discuss your vision, preferred jewelry type, and complexity level. The instructor will help you sketch your design and select appropriate silver materials for your chosen piece.
Tool Training & Safety Briefing
Learn how to safely use traditional and modern jewelry-making tools including hammers, files, polishing equipment, and soldering gear (if applicable to your design). The instructor demonstrates proper techniques and hand positioning to prevent injury and achieve professional results.
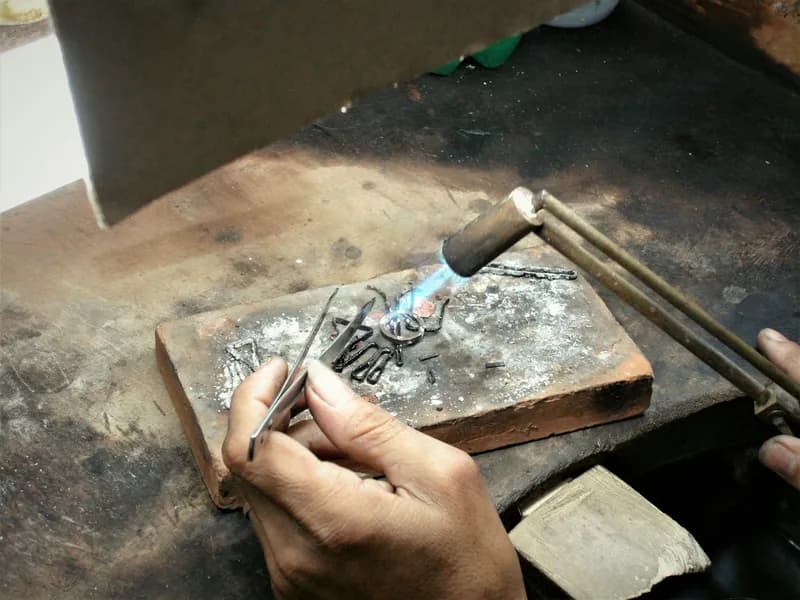
Silver Shaping & Formation
Begin working with raw or pre-formed silver material. Using hand tools and techniques taught by your artisan, shape the metal into your desired form. This may include hammering, bending, filing, and smoothing depending on your jewelry design. The instructor provides real-time guidance and adjustments.
Joining & Soldering (if applicable)
For designs requiring component assembly, learn basic soldering or joining techniques to connect pieces. The instructor handles any high-temperature work if needed, ensuring your safety while you observe and participate in appropriate stages of the process.
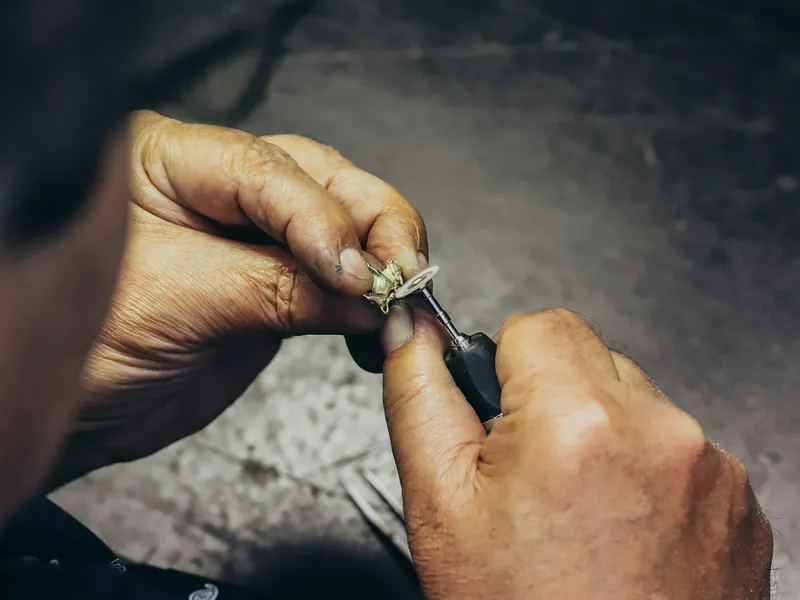
Finishing, Polishing & Detailing
Refine your piece through filing, sanding, and polishing to achieve a smooth, professional finish. Add personalized touches like texture, engravings, or patina effects based on your preferences. Learn proper polishing techniques to make your silver shine.
Final Inspection & Take-Home
Review your completed jewelry with the instructor and receive care instructions. Your finished piece is packaged carefully for you to take home as a wearable reminder of your Balinese creative experience and cultural learning.
Best Time to Go
Morning sessions (8am-10am or 9am-11am if available) are ideal as workshops tend to be less crowded, allowing for more personalized attention from artisans and a calmer creative environment. Avoid peak afternoon hours (1pm-3pm) when multiple groups may be working simultaneously. Since this is an indoor workshop, weather is not a factor, though visiting during Bali's dry season (May-September) means you'll have better weather for the surrounding Uluwatu area if you plan additional activities before or after.
Frequently Asked Questions
Safety Information
Silver jewelry making involves several safety considerations you should be aware of. Hot soldering equipment and sharp metal tools are used—your instructor will provide proper safety briefing and close supervision, but pay careful attention to hand positioning and never touch heated metal or equipment. Wear closed-toe shoes to protect feet from dropped tools or metal scraps. If you have long hair, tie it back securely away from rotating polishing equipment. Metal dust and fine particles are produced during filing and polishing—the workshop should provide ventilation, but those with respiratory sensitivities should mention this to their instructor. Never rush through steps—working carefully at your own pace is better than trying to complete an overly complex design, which increases accident risk. Inform your instructor about any hand injuries, arthritis, or strength limitations beforehand so modifications can be made to tool use and technique.
Related Activities

Book This Activity
Book Bali: Uluwatu Silver Jewelry Making Workshop with Creation through our trusted partners and get the best prices.